Saturday, July 31, 2010

Etsy SALE!

I found the cutest anchor necklace on Etsy from ririprettyfulls. Here's what it looks like:


Anchor by the Shore -- $25
link


I have decided to open a second Etsy store to feature my hair clips. I want to keep my paper crafts separate from the accessories, but I need to wait until I have more inventory. I will definitely keep you all updated on the grand opening.

In the meantime, to celebrate the impending opening of my new shop, I am starting a sale at my current shop! 10% off EVERYTHING handmade! Even the scrapbooks! This excludes shipping, invitations and the kits I have available for sale. Check out my store at Naive Glow Arts! Discount will be refunded via PayPal after payment is received. Sale ends August 10th! Don't miss out!

I sure wish I felt like creating today. I am working on new hair clips and got two done last night but just don't feel like doing any more. I am on antibiotics and they make me feel like crap. My root canal is on Monday but I am not worried about it at all. I get nitrous oxide so it's all good :)

Alright, that's all for now!

Friday, July 30, 2010

Etsy Tips

As if you didn't know already, I spend a lot of time on Etsy, a site for handmade items, vintage items, and supplies for various crafts. My link is http://naiveglow.etsy.com. Along the way I have learned several things I would like to pass on to anyone starting their store, thinking about opening one, or to an existing store owner who wants more sales. I have collected these tips from fellow Etsians and some are my own. I won't differentiate which is which :) So here are 11 tips for success on Etsy.

Tip #1: Make your descriptions...descriptive. Don't leave out a single detail. What's the size? Who is it intended for and what use does it have? What's it made of? What is your opinion on it? People want to know as much as possible about your product before making a purchase, so don't hold back on descriptions. There's no limit to how long it can be...though you should use discretion -- novel-length descriptions will likely not get read and turn your potential customer away. Find a happy medium.

Tip #2: Use all 14 keywords. You get 14, so use 'em! What I do is look at my item and put the first things that pop into my head. "Vintage," "Moulin Rouge," "small," etc. Think about what your item's purpose is, and think of keywords people might type in to find a product like yours.

Tip #3: Get a banner and avatar. This will make your shop more inviting and give it a branded presence. It makes it more memorable. A store without a banner looks barren and unfriendly -- so get yourself a banner with your shop's name on it. You can find plenty of free banners by searching Google or you can buy them from other Etsy members, custom made! It is great if your avatar matches your banner, but this is not entirely necessary.

Tip #4: Get into the community. Make sure you make a presence there in the forums or chats...this will get people looking at your store, marking items as their favorites, and "hearting" your store, meaning they can easily come back to it by clicking their favorites. You will also get lots of great insight about Etsy in the community section of Etsy.

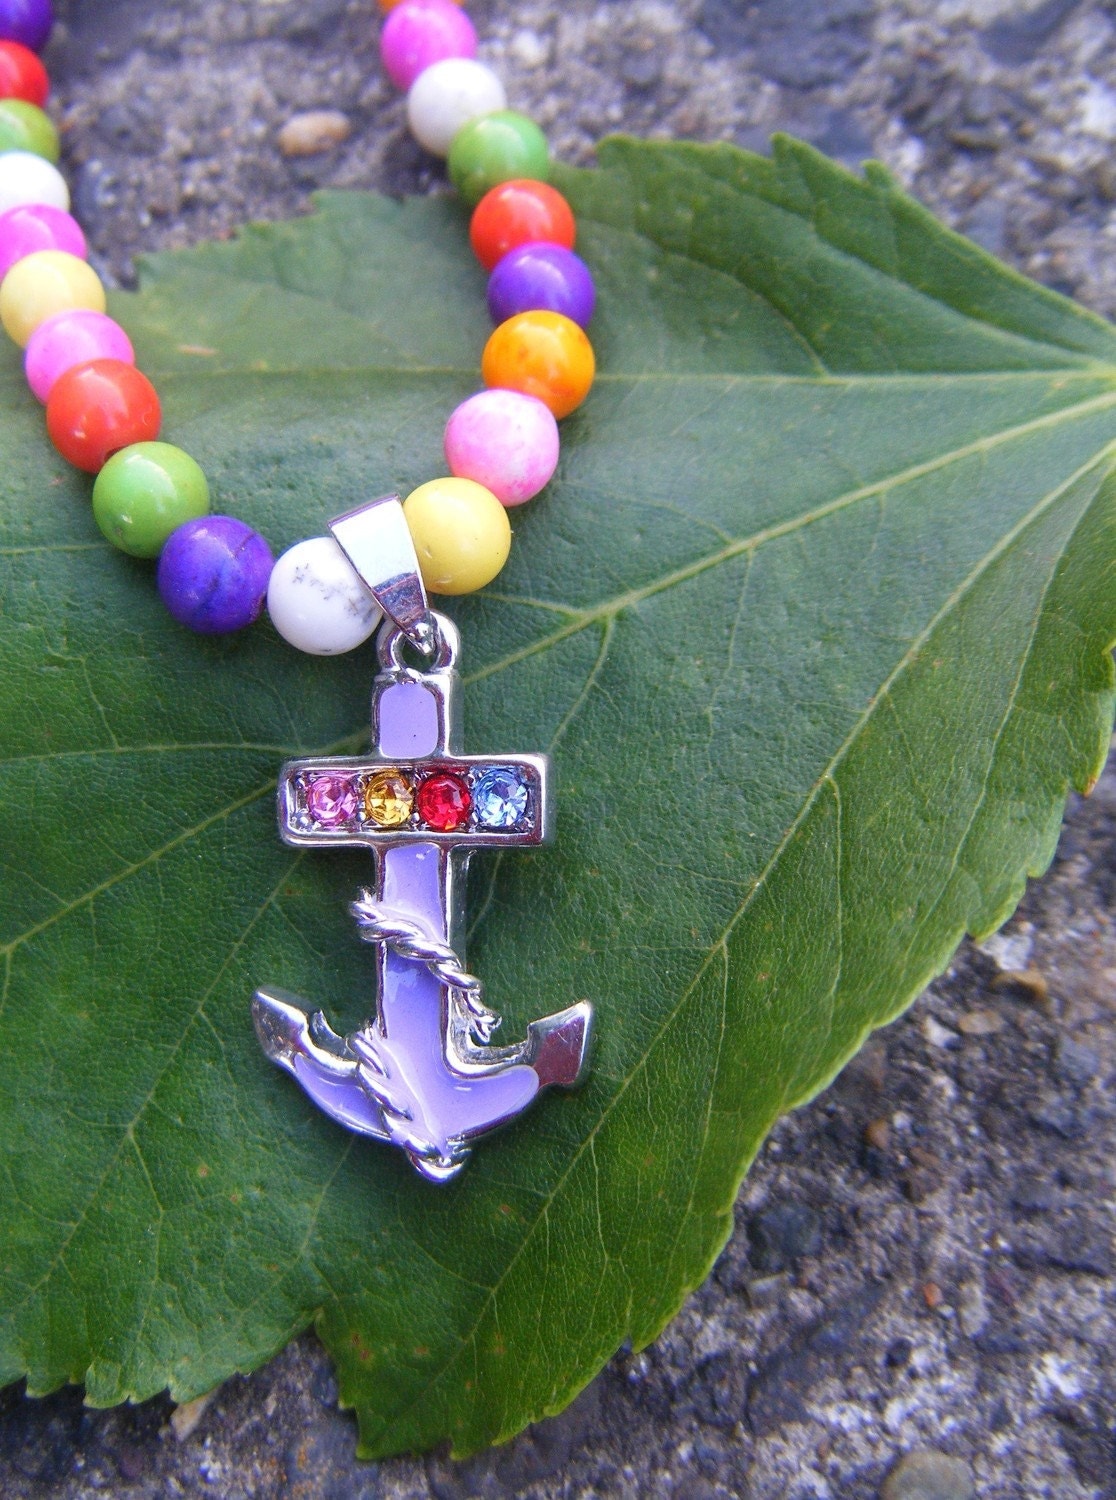
Tip #5: Use all 5 pictures. You can upload 5 pictures at no extra charge. Take a picture of your item at different angles even if you think it's a simple piece. Turn it 180 degrees, 90 degrees, 45 degrees...however you want! Just use all 5 photos to properly show your product -- people want to get as close as possible.

Tip #6: Take your photos during the daytime in the natural light. This makes them feel cozier and more inviting. Natural light is less harsh than a flash on a camera and doesn't reflect as badly. Also, download a free editing program such as Picasa3 or Photoscape to enhance your photos (brightness, contrast, etc.).

Tip #7: Use keywords in the beginning of your shop announcement. You get a shop announcement section -- the first words should be keywords about the items in your shop. For me it's "paper flowers, hair accessories, scrapbook albums, invitations, fabric flowers & Paper Crafting Kits." Do this for one reason only: Google. When someone searches for an item on Google, the search engine will "crawl" the page and take the first few words on the page and use them as filters. Keeping keywords there will help people find your shop from Google searches and other search engines.

Tip #8: Don't worry about the competition. There are so many shops on Etsy, you cannot worry about what they're all doing. Concentrate on your own shop. Ask a friend or family member to look at your page and tell you what they think -- what are their first thoughts? Do you have any items featured? Is your shop announcement too long? Are the pictures too dark? Do you have no categories for product, just a big mish-mash of stuff on several pages? Take their suggestions into consideration and see how you can adjust things to make them better.

Tip #9: Don't under price. You may be concerned that others are selling similar products for less -- forget about them. If your item is superior, it deserves to be priced at what it's worth! Consider your materials and time, and your effort. What is all that worth to you? That's how to price your items. Make sure you are getting your time and effort's worth out of your sales.

Tip #10: Make your customers feel special. Include a small gift with each sale, be it some ribbon or a few buttons. Include a business card so the buyer can save it when they realize you are a reliable seller. It is marketing to your customers, and that is priceless.

Tip #11: Get into the blogging world. Blog about your items and gather a network of friends in the blog world. Comment on similar blogs and follow them, keep up with what they're doing. This can help you get business and get you ideas of what people are looking for -- the latest trends, so to speak. It's also fun and easy!

With that, here are my latest additions to my shop :)

Blue Satin and Lace Flower Hair Pin/Headband -- $10
link


Vintage Moulin Rouge Flower Headband -- $18
link

Thursday, July 29, 2010

New Etsy Items!

These are my newest listings on Etsy. I have lowered my prices to be competitive, and if you use discount code BLOGK, you will receive 10% off your entire purchase (excluding kits and invitations), less shipping! The refund will be given after payment is received via PayPal.


Fanciful Flower Headband -- $7
(custom orders welcome)
link

Distress Ink Starter Kit -- $40
link

Alcohol Ink Starter Kit -- $40
link

Mixed Paper Flowers, Perfect for Cards -- $4
link

Gorgeous Flower Vine -- $3.49
link


Unique Elegant Wedding or Party Invitation -- $3.25
link

Prima Gallery Rose Tutorial

Today we're going to learn to make a duplication of the Prima Gallery Roses. You will need:
Tim Holtz Alterations Tattered Florals Sizzix DieHeavyweight paper or cardstockAdhesiveWater in a spray bottleMouse pad
Round-ended tool (embosser, Empressor, end of a paintbrush, etc.)Cuttlebug or Sizzix Machine
Cut four each of the two smallest flowers.


Spritz the smallest petal with water.


Turn your mouse pad upside down. With your round-ended tool, rub in a circular motion in the middle of the flower and at the base of each petal. Do this to all four small flowers so you have one open one, one that is more closed, another that is even more closed, and the last one should be similar to a ball shape (very closed...to get this you will rub longer on the flower).


Repeat this with all the petals.


Begin to stack the petals from the larger ones to the smaller ones.


*Optional*: Use this flower from the Tattered Florals die and cut it from green cardstock or glimmer mist it a green color for petals underneath your flower.


This is your final result! If you do better with video instructions, here is my YouTube video demonstration:


Sunday, July 18, 2010

Craft Show Creations

So I did something new tonight, and it worked marvelously! I may never buy colored ribbon again. Ok so that's an exaggeration, but I glimmer misted some seafoam green satin ribbon with English Ivy Glimmer Mist and the color came out wonderful! So if I just buy a bunch of white satin ribbon from now on, I can custom color it :) Now I need to find some wholesale satin white ribbon so I have bunches to go around. I hate running out of ribbon.

These last two days have been full of crafting, and I love it. I'm making items for a craft show that I will hopefully be participating in in October. I don't have the booth fee right now so I can't apply just yet, but hopefully they'll accept my application. I am so excited, and can't wait to take pictures of all the stuff I'll be selling. I need to get a good stock so I can photograph it for my application. I will definitely be selling:

Post-it holders
File Folder Notepad holders
Notecard sets with matching boxes
Gift card holders
Wooden jewelry boxes
Altered Composition Notebooks
Headbands with fabric and lace flowers
Mini Albums
Jumbo Clothespins

I might do some photo frames as well. I'm sure I will think of more things to make but that's my list for now. I can't explain how thrilled I am about the show!

Wednesday, July 14, 2010

Journal for Sale *Sold*


I made a journal yesterday that I just put up for sale. You can buy it here or through Etsy at http://naiveglow.etsy.com. It is only $5.99!

Le Romantique Remember This Mini Album

As many of you know, I love mini albums. I love the size and how they're just so darn cute! Here is one I made for my secret partner in a swap. I used Graphic 45 Le Romantique paper for this album.The cover is chipboard with various embellishments. I bound the album with white ribbon but covered that up with a strip of canvas. It is from Ranger and I painted it with gold acrylic paint, distressed it with Vintage Photo distress ink, and enhanced the edges with black acrylic paint from Adirondack.
I made this flower using Tim Holtz's Alterations die, Tattered Florals.


I used Making Memories letters for the title, punched a border strip with my EK Success border bunch, and added a tiny butterfly I bought from crafta.com.


I cut out an image from the Le Romantique paper and glued it onto the canvas binding. It was missing something so I added a gold and pearl metal button. I also used dangling bead trim from alphastamps.com. I LOVE that stuff, and their site!


The left page has a lace covering on the left side with several K&Co. diecut chipboard pieces. The right page features a lady I cut out from the Le Romantique paper stack. I added a Prima Camelot flower, a baby rose from my friend Kima, and added a photo mat bordered on the right with oval pearl trim.


The left side of the left page has two laces, layered pink on white. The right page has a pocket I made from one of the pages of the paper from Graphic 45. I cut out the flowers and used it to hold tags from the punch out page of the Le Romantique stack.


The left page is simple...I just used my border punch to add some contrasting red to the black background and tied a light green bow with a button glued to the knot. The image is from the paper stack. The right side is half acetate, half designer paper. That is a Prima flower on the top and more of my favorite tear drop pearl trim!


A close up of the acetate sheet and the flower.


This is the other side of the acrylic page. I added leaf ribbon to the edge.


The left page is half acetate, half designer paper. I again used my border punch to make a decorative strip on the photo mat.The right side uses a vintage piano music sheet I distressed with Antique Linen and Vintage Photo distress ink.


The left page is a simple photo mat with a K&Co. chipboard piece. I covered the right side with lace I Glimmer Misted with Raven GM and added more of my crafta butterflies.
The right side is a hidden fold out page.


A close up of the fold out.


The fold out opened up.

Well let me just say this was the biggest pain in the butt to post. The photo placement was a nightmare! Stay tuned, tomorrow I will post a flower tutorial!

Meanwhile, here is the YouTube presentation of this album.

It's Wednesday in July!

I have created a chart in Excel with all the current colors of Glimmer Mist available. I made one for myself to keep track of which ones I have and which ones are next on my list. So I thought I'd share a blank one for all of you! Download it here.

I finally took pictures of my new shelves! They're all different and were super cheap at the Salvation Army. The most I paid for any shelf is $2. Here are the pics!
This shelf is used to hold my Cricut cartridges, my altered paint can for flowers, and a mini album inside a wooden book.


Here I store all my wood mounted stamps. They look great on display, and thought this was a great way to keep them organized.

These are $1 tins I found at Michael's last year. I store embossing powder, Tim Holtz metal clips, bling from the dollar store, and jump rings in these.


This is a small shelf I haven't (obviously) filled. It holds a mini album I received from a friend on scrapbook.com, Diamond Dust, glitter, and a metal altered K from my friend Kellye.

I will post later today or tomorrow my latest mini album that I am SUPER excited about!

Oh and don't forget to check out my Etsy shop at http://naiveglow.etsy.com.

Tuesday, July 13, 2010

Cards, Cards, and um, More Cards

Ok you all know I am in LOVE with Glimmer Mist. I can't get enough. I hope to one day own every color. God knows where I'll put it but darn it I want them all. I did inventory and there are actually 114 colors in existence. That includes the limited edition and Heidi Swapp colors.

Ok, off the topic of Glimmer Mist, I want to share with you some of my latest projects. I recently made some vintage cards and ATCs for swaps on Splitcoast Stampers, and of course made some cards for myself. I even made a card file to hold all my cards!

Generic "Hi" Card


Congrats Card for my Sister


Birthday Card


Vintage Card for SCS Swap


Generic Card made from Recycled Priority Mail Box

I will wait until next post to share the card file with you. I will also give you a tutorial (not one I made) on how to make your own.

As always, check out my Etsy shop at this link!

Monday, July 5, 2010

Design Team at Challenge Masters!!!

I have been selected to be a part of the design team for Challenge Masters! Check us out at challengemastersonline.com =) I am in charge of altered art. Here is a link to my challenge this month: click!

I hope everyone had a happy fourth of July. I spent my weekend selling fireworks at my brother's store. We sold TONS of fireworks and made lots of moo-lah for my brother. He has put in 96 hours this week alone...can you believe that?! Dang. I am just happy this weekend is over with.

Just wanted to share my new position at Challenge Masters!